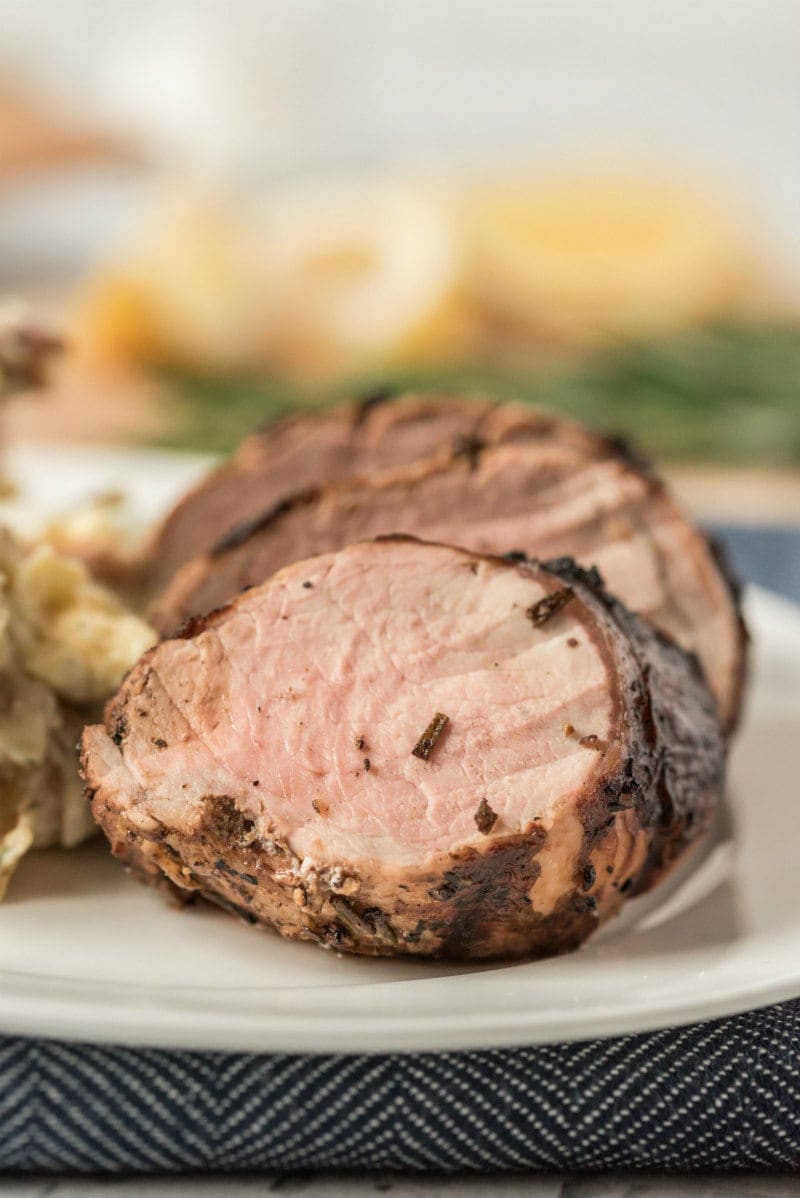
Momofuku Bossam (Korean Slow Cooked Pork Shoulder Roast)
Recipe video above. This is David Chang's famous Momofuku Bossam (or Bo ssam), his take on the traditional Korean pork dish that costs US$250 at his NYC restuarant! Pork shoulder is dry cured so it's seasoned from end to end, then slow roasted until fall apart tender and finished with a br
 Foto: RecipeTin Eats
Bahan-bahan
- 3.5 -4 kg/ 7-8 lb pork butt / shoulder (, bone in & skinless (Note 1))
- 1/2 cup (110g) white sugar
- 1/2 cup (115g) kosher or cooking salt (NOT table salt) ((Note 2))
- 1 tbsp kosher or cooking salt (NOT table salt) ((Note 2))
- 7 tbsp brown sugar (, light or normal (not dark))
- 2.5 cups scallions (, thinly sliced (both green and white parts, ~5-6 stems))
- 1/2 cup fresh ginger (, peeled and finely grated (Note 3))
- 1/3 cup canola oil ((Note 4))
- 1.5 tsp light soy sauce ((or all purpose, not dark soy sauce Note 5))
- 1 teaspoon sherry vinegar ((Note 6))
- 1/2 tsp kosher or cooking salt (, to taste (Note 2))
- 2 tbsp ssamjang ((Note 8))
- 1 tbsp gochujang ((Note 8))
- 5 tsp sherry vinegar ((Note 6))
- 2 tbsp canola oil ((Note 4))
- 1 tbsp water
- 1 tsp white sugar
- 4 - 5 heads butter/bib lettuce ((40 - 50+ leaves, Note 9))
- 3 cups cooked white rice
- 500 g /1lb kimchi
- 12 + oysters (, raw, in shell (optional, Note 10))
Langkah-langkah
Mix sugar and salt together. Pat pork dry. Coat pork in sugar salt mixture, getting it into all the crevices. Rub/pat well to adhere as best you can - discard excess salt unused/falls off (usually ~ 2-3 tbsp).
Place in a glass dish (Note 13), cover loosely with cling wrap and refrigerated 24 - 36 hours (Note 11).
Preheat oven to 150°C/300°F (all oven types) with rack in the middle of oven.
Remove pork from fridge - surface will be wet. Either transfer pork to clean pan (metal, ceramic or glass) or drain off excess liquid / scrape out salt/sugar in same glass pan. Do not rinse pork.
Roast 5 hours (Note 12), uncovered, spooning over pan juices once each hour, until you can easily pull the meat apart with 2 forks (check on side).
Remove from oven, rest for 10 minutes (up to 1 hour is fine, loosely cover in foil).
Turn oven up to 260°C/500°F (all oven types).
Mix brown sugar and salt.
Spoon juices all over pork.
Spoon sugar onto pork and use your hands to make it stick to the top and sides (not underneath). Make layer on top as even as you can (for even caramelisation).
Place in oven for 10 minutes until surface is a deep golden crust, sugar is bubbling and caramelised (see VIDEO!). Keep a close eye on it from 5 minutes. If the highest points start getting black, cover with small piece of foil (just stick it on).
Remove from oven and transfer to serving platter for serving. (Don't use pan juices, it will be salty from brine)
Ginger Shallot Sauce: Mix ingredients in bowl and stand for 20 minutes to let it soften.
Ssam Sauce: Mix ingredients together. Oil will naturally separate over time if sauce is left to stand, just mix again to reincorporate.
Place pork on serving platter with lettuce, oysters, kimchi, rice, Ginger Shallot Sauce and Ssam Sauce on the side.
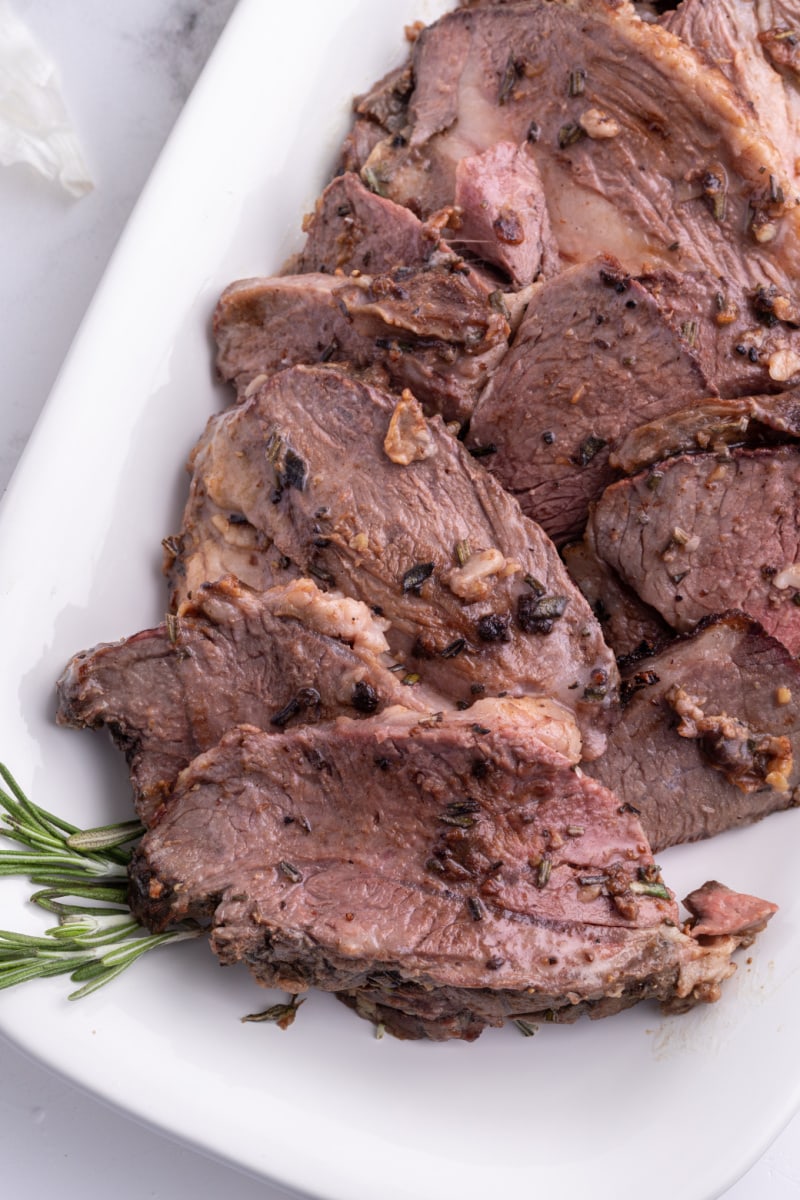
Attack the pork - it will shred easily. Shred as much or little as you want, let people do it themselves or you can do it for them. Prepare to fight over the epic crust.
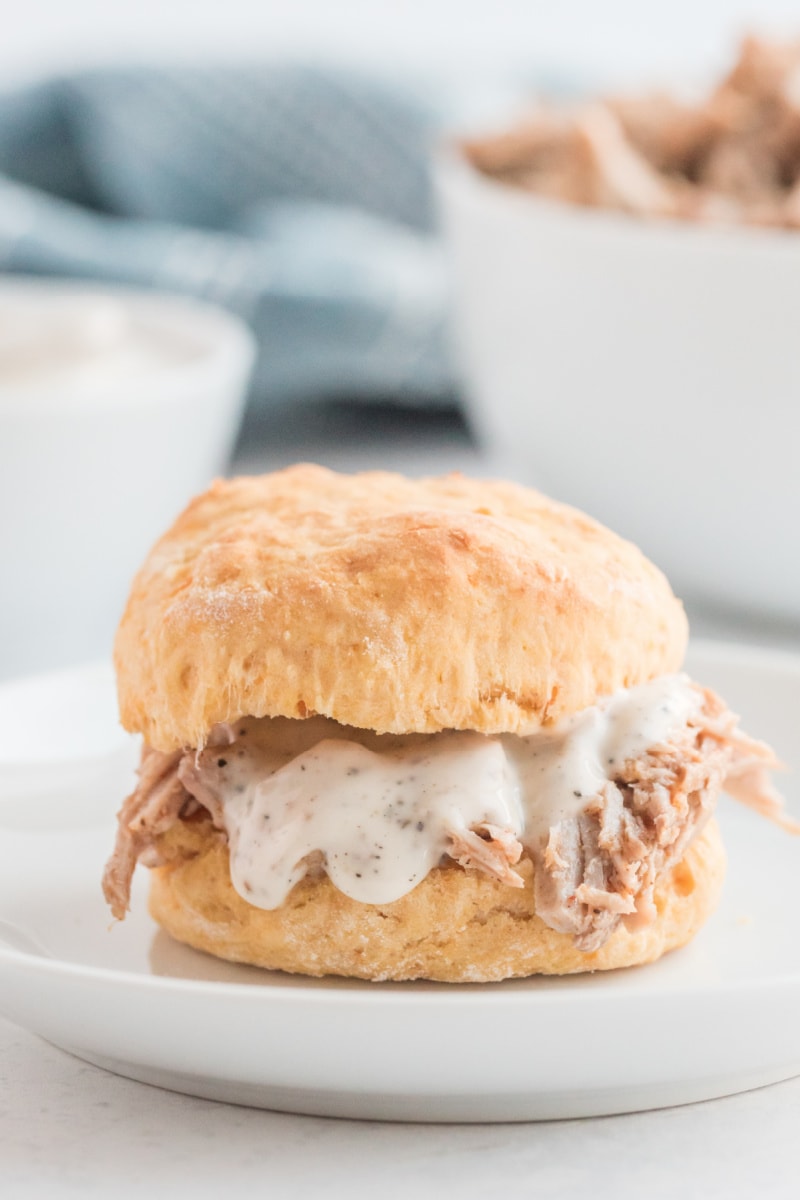
To eat, place lettuce in hand. Spoon in some rice, top with pulled pork, small piece of kimchi, oyster, some ginger shallot sauce then finally a little drizzle of spicy Ssam sauce.
Bundle up, bite and enjoy!


Memuat komentar...