Beginner Sourdough Bread Recipe
Crisp crust, chewy interior, and that signature tang—this easy sourdough recipe gives you bakery-quality bread right from your own kitchen.
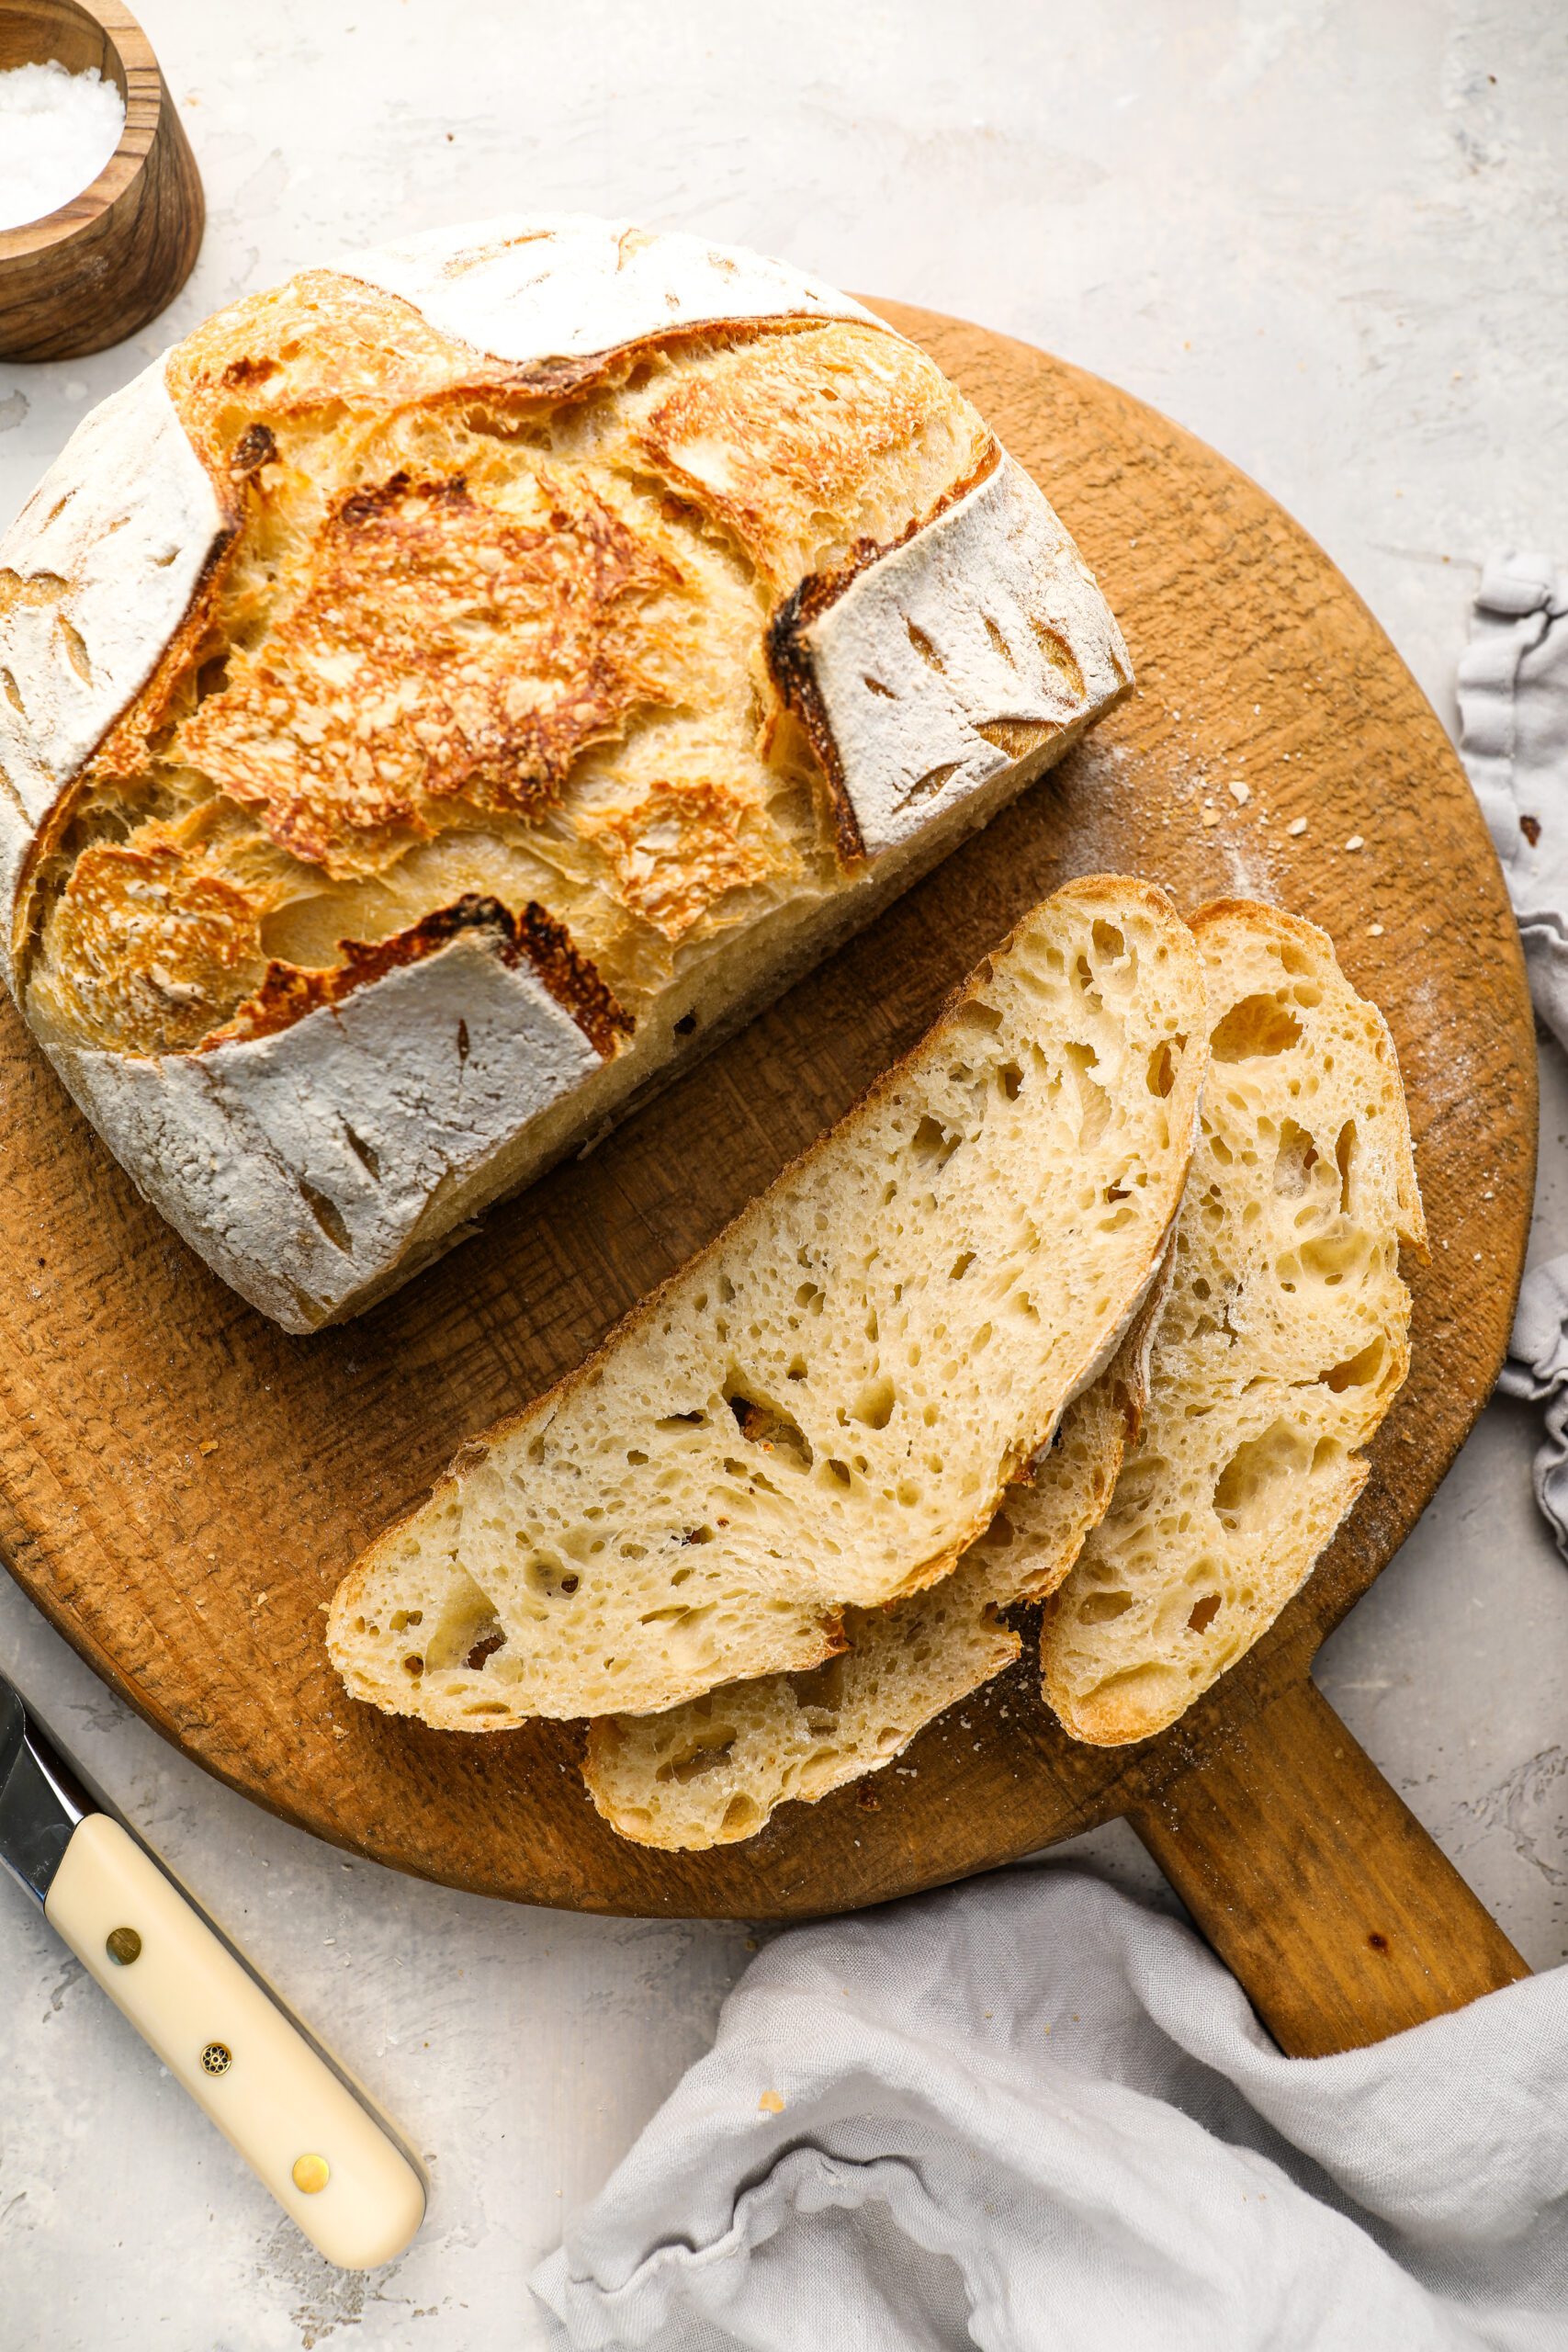 Foto: Once Upon a Chef
Bahan-bahan
- 500 g (3¾ cups + 2 tablespoons) all-purpose flour (preferably King Arthur)
- 12 g (2 teaspoons) fine sea salt
- 350 g (1½ cups) warm water (80°F/27°C)
- 100 g (½ cup) active sourdough starter (fed 4 to 6 hours ago, doubled in size, and bubby) OR levain (see instructions in the recipe notes)
Langkah-langkah
-
Mix the Dough: In a large mixing bowl, whisk together the flour and salt. Add the water and 100g starter OR levain, then mix by hand, using a dough whisk, or a wooden spoon until no dry bits remain. The dough will feel shaggy, sticky, and rough. Cover loosely with a damp towel or plastic wrap and let rest for 1 hour—this allows the flour to fully absorb the water and begin gluten development, making the dough easier to handle later. (This process, called autolyze, helps create a better texture and structure in the final loaf.)
-
Stretch and Fold: Moisten your hands with water to prevent sticking. With the dough in the bowl, lift one side, stretch it upward, and fold it over itself. Rotate the bowl and repeat on the other three sides. Cover loosely between rounds to prevent drying, and repeat 3 more times every 30 minutes over the next 2 hours (for a total of 4 stretch-and-fold sets).
-
Bulk Fermentation: After the final fold, let the dough rest, still loosely covered and untouched, until it’s puffy, slightly domed, and has increased by 50 to 75% in volume. The surface should look smooth with bubbles underneath and jiggle slightly when the bowl is gently shaken. This typically takes 2 to 3 hours, depending on temperature and starter activity.
-
Pre-Shaping: Lightly flour a clean work surface to prevent sticking. Turn the dough out gently onto the floured surface, being careful not to deflate the air pockets. Use lightly floured hands or a bench scraper to shape the dough into a ball.Slide the bench scraper (or your hands) under one side of the dough. Gently pull it toward you while rotating slightly, using the scraper or your hands to tuck the edges under. Continue this circular motion, pulling the dough along the surface to create tension and form a smooth, round shape.Cover loosely with a clean kitchen towel or plastic wrap and let it relax on the counter for 15 minutes before final shaping.
-
Final Shaping: Lightly flour the top of the loaf, then use a bench scraper to flip it over so the floured side is down.Gently stretch and press the dough into a rough square. Take one corner and fold it toward the center, then repeat with the other three corners to form a loose package. Tuck and pinch any remaining seams into the center, then gently shape it into a ball. Flip the dough over (seam-side down). Using your hands, cup and roll the dough slightly toward you to create surface tension, keeping it tight but not tearing the skin. The dough should feel smooth, tight, and slightly tacky—not too loose or sticky.Transfer the dough to a lightly floured banneton basket for proofing.Pro Tip: If you don’t have a proofing basket, a medium mixing bowl (about 8 inches in diameter) lined with a clean kitchen towel works well. To prevent sticking, dust the towel generously with flour—rice flour is ideal because it doesn’t absorb moisture, creating a non-stick barrier. If you don’t have rice flour, use a blend of all-purpose and cornstarch or simply more all-purpose flour, though it may be slightly more prone to sticking.
-
Proofing (Choose One Method - Room Temperature or Cold Proofing) Option 1: Room Temperature Proof (Faster)Cover with a lid or plastic wrap and proof at 75°F/24°C until slightly puffy but still firm, 1½ to 3 hours. It’s ready when it springs back slowly when pressed and has slight air pockets forming.Option 2: Cold Proof (Overnight for Better Flavor & Handling)Cover with a lid or plastic wrap and refrigerate for 10 to 12 hours.Pro Tip: If life gets in the way, a slightly longer cold proof—up 24 hours—is usually fine. The dough may ferment a bit more, but as long as it still holds its shape and hasn’t collapsed, it should still bake up beautifully.
-
Bake the Bread: Preheat the oven to 465°F (240°C) and set a rack in the lower middle position. Place a 5-quart Dutch oven or domed bread oven inside the oven to preheat as well.Place a sheet of parchment or a silicone bread sling over the proofing basket, then flip the dough onto it for an easy transfer. Using a lame or sharp knife, score the top about ½-inch deep to control expansion during baking. You can use a single slash, cross, spiral, or decorative design.Carefully remove the hot Dutch oven and place it on a heat-proof surface.Lift the parchment paper or bread sling by the edges and lower the entire thing—parchment/bread sling and dough together—carefully into the hot Dutch oven. Cover with the lid and place in the oven (remember—it’s hot—handle with oven mitts). Bake for 30 minutes. Remove the lid and bake for about 10 minutes longer, until golden brown.When done, the crust should be crisp and crackly, and the bread should sound hollow when tapped. Let the bread cool on a wire rack for at least 1 hour before slicing.
Estimasi Nutrisi (per porsi)
Makronutrien
*AKG = Angka Kecukupan Gizi berdasarkan diet 2.000 kalori


Memuat komentar...